Installation
This section provides step-by-step instructions to install the GRID Enterprise on your system. The GRID Enterprise is designed to work seamlessly on systems with the following requirements.
Requirements
Before proceeding with the installation, ensure that your system meets the following requirements:
Operating System: Ubuntu 22.04 / 24.04 The GRID Enterprise is optimized for Ubuntu 22.04 and 24.04, ensuring compatibility with the latest Linux distributions. While it may work on other versions or distributions, these are the officially supported versions.
NVIDIA GPU + Drivers: To leverage GRID’s simulation and AI models, an NVIDIA GPU is required, with a VRAM of at least 8 GB (ideally >=16GB). Please ensure the latest NVIDIA drivers (535+) are also installed.
Python 3.11+: The GRID Enterprise requires Python 3.11 or higher. We recommend installing through Miniconda or an equivalent environment manager.
Docker: Docker is used to containerize applications, ensuring that the GRID Enterprise runs consistently across different environments. Make sure Docker is installed and running on your system. Please find more info here.
NVIDIA Container Runtime: The NVIDIA container runtime is required to run GPU-accelerated Docker containers. This runtime allows Docker to utilize the GPU, enabling efficient execution of AI models within containers. Please find installation instructions specific to your Linux package manager on the NVIDIA docs page. For simplicity purposes, we recommend installing it with Apt. You do not have to configure the runtime as it is automatically detected by Docker.
Installation Steps
Once your system meets the prerequisites, you can install the GRID Enterprise console with the following command inside your conda/virtual environment:
pip install sf-grid
License Configuration
If you received a configuration file as part of your onboarding (which takes the form of a resource_config.json
file), please first copy the file to the following path on your machine: ~/.grid/resource_config.json
.
mkdir -p ~/.grid cp /path/to/resource_config.json ~/.grid/resource_config.json
Getting Started
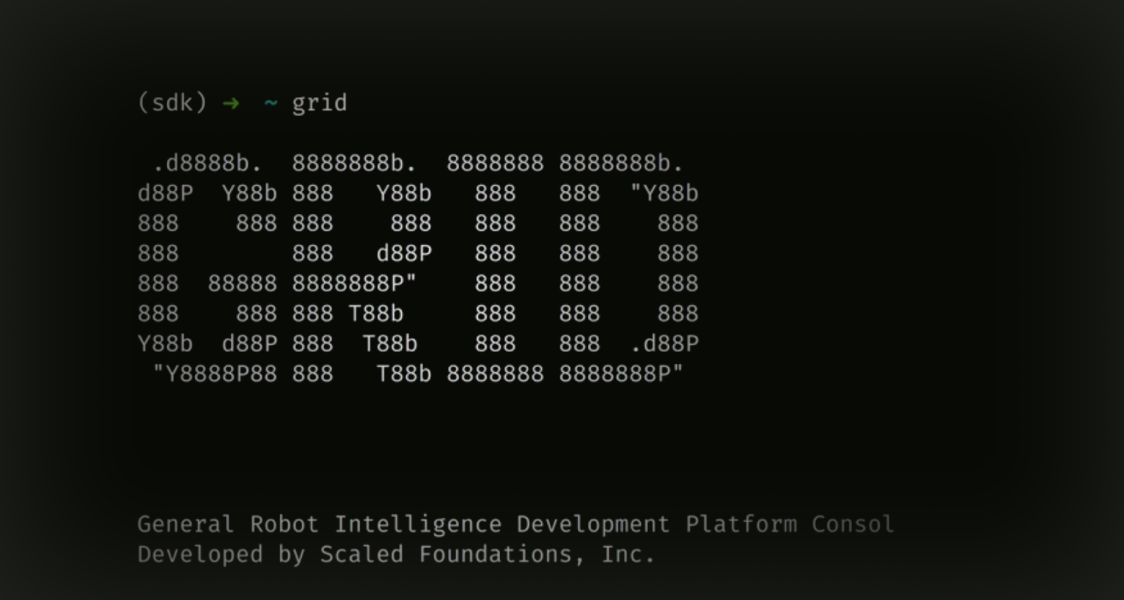
Now that you have installed the GRID Enterprise, you can start using the GRID CLI by running the following command:
gridShow Expected Output
.d8888b. 8888888b. 8888888 8888888b. d88P Y88b 888 Y88b 888 888 "Y88b 888 888 888 888 888 888 888 888 888 d88P 888 888 888 888 88888 8888888P" 888 888 888 888 888 888 T88b 888 888 888 Y88b d88P 888 T88b 888 888 .d88P "Y8888P88 888 T88b 8888888 8888888P" Enter your username: <username> Enter your password: ******** Enter your storage token:<storage_token> Resource configuration file created successfully. Loading resource configuration from /home/user/.grid/resource_config.json... General Robot Intelligence Development Platform Console Developed by Scaled Foundations, Inc. Type 'help' or 'license' for more info.
This command initializes the GRID CLI. If you have not pre-provided a configuration file, it will prompt you to manually enter credentials for the resource configuration file. These credentials (username, password, storage token) are stored in ~/.grid/resource_config.json and are provided to you during the onboarding process for the GRID Enterprise platform.
Note
Please note that all of our setup is based on Linux systems. Some of our features might not work as expected on Windows, WSL or other virtualized environments.
Now that we have successfully installed and interacted with GRID Enterprise, we can proceed to the next section to learn more about the GRID CLI and its commands.