Hello GRID Tutorial
Welcome to the Hello GRID tutorial! This guide will walk you through setting up and running your first GRID session using the GRID Enterprise platform.
Note
By default, all commands in this tutorial are executed on the local machine. If you are using a remote machine, you must specify it explicitly using the @<machine_name> syntax.
Getting Started
In this tutorial, you will:
Set up a GRID session using the CLI.
Start a simple simulation and open it in your browser.
Stop and terminate the session.
Setup and Initialization
Step 1: Initialize the GRID Platform
The first step is to log into the GRID platform and initialize the containers. Open your terminal and run the following command:
login
Show Expected Output
Enter your username: <username>
Enter your password: ********
Enter your storage token:<storage_token>
Resource configuration file created successfully.
Loading resource configuration from /home/user/.grid/resource_config.json...
General Robot Intelligence Development Platform Console
Developed by Scaled Foundations, Inc.

Type 'help' or 'license' for more info.
You can sign in using the provided credentials or access tokens. Once logged in, start the containers with:
init
Show Expected Output
Spinning up grid_core on local...
Spinning up grid_service on local...
grid_core: ✓
grid_service: ✓
Containers are active.
This command spins up the necessary containers on your local machine, preparing the environment for your session.
Starting Your First Session
Step 2: Start Your First GRID Session
Let’s now start a session that runs a pre-configured simulation. Execute the following command in your terminal:
session start hello_grid ./session_config.json
Show Expected Output
Starting session hello_grid ...
2024-09-10 16:42:51,676 - INFO - HTTP Request: POST http://localhost:8000/start_session "HTTP/1.1 200 OK"
response: Starting session...
response: Downloading resources..
response_end: Session has been started successfully
Session started successfully.
This starts a session named hello_grid using the configuration provided in the session_config.json file.
Step 3: Open the Simulation
After the session starts, open the simulation in your browser with the open command:
open hello_grid sim
Show Expected Output
Opening sim for session hello_grid in default browser at http://localhost:3080
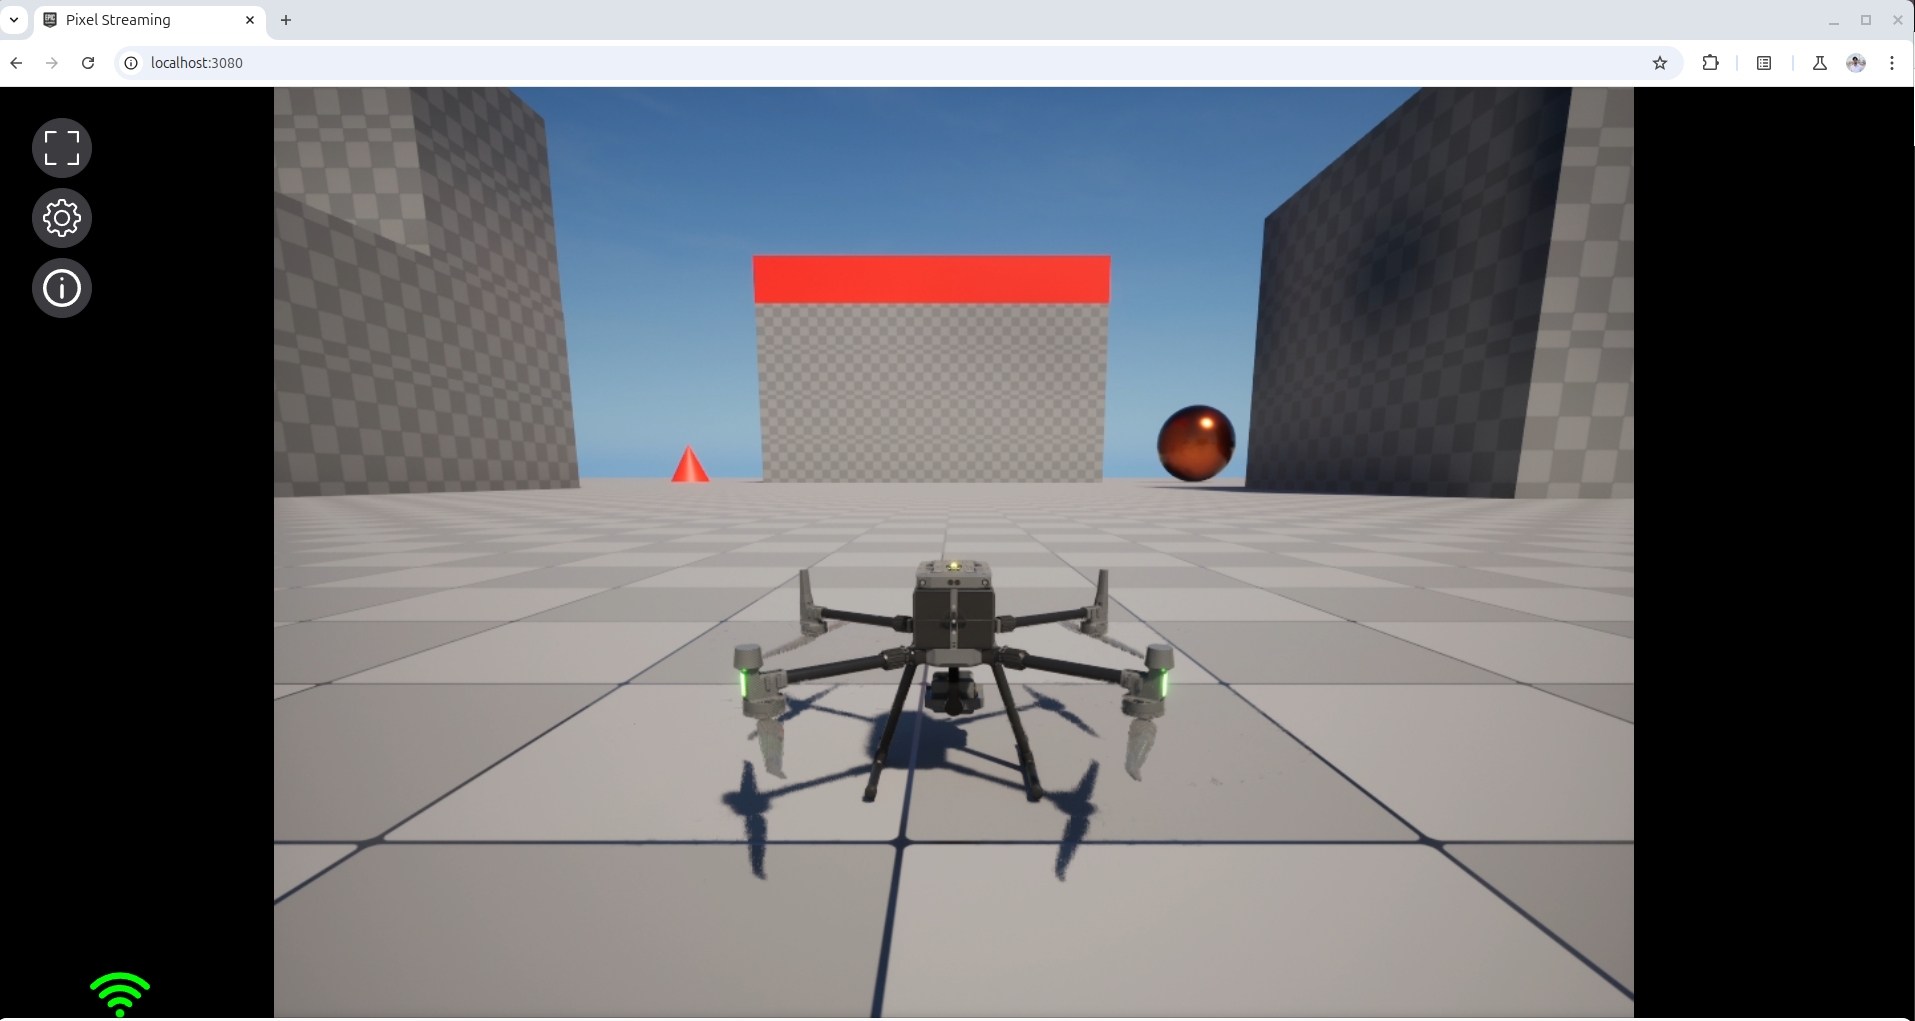
Simulation running successfully in the browser
This command will launch a browser window where you can view the running simulation.
Step 4: Open the Notebook Interface
You can also open the notebook interface for the session with:
open hello_grid nb
Show Expected Output
Opening nb for session hello_grid in default browser at http://localhost:8890
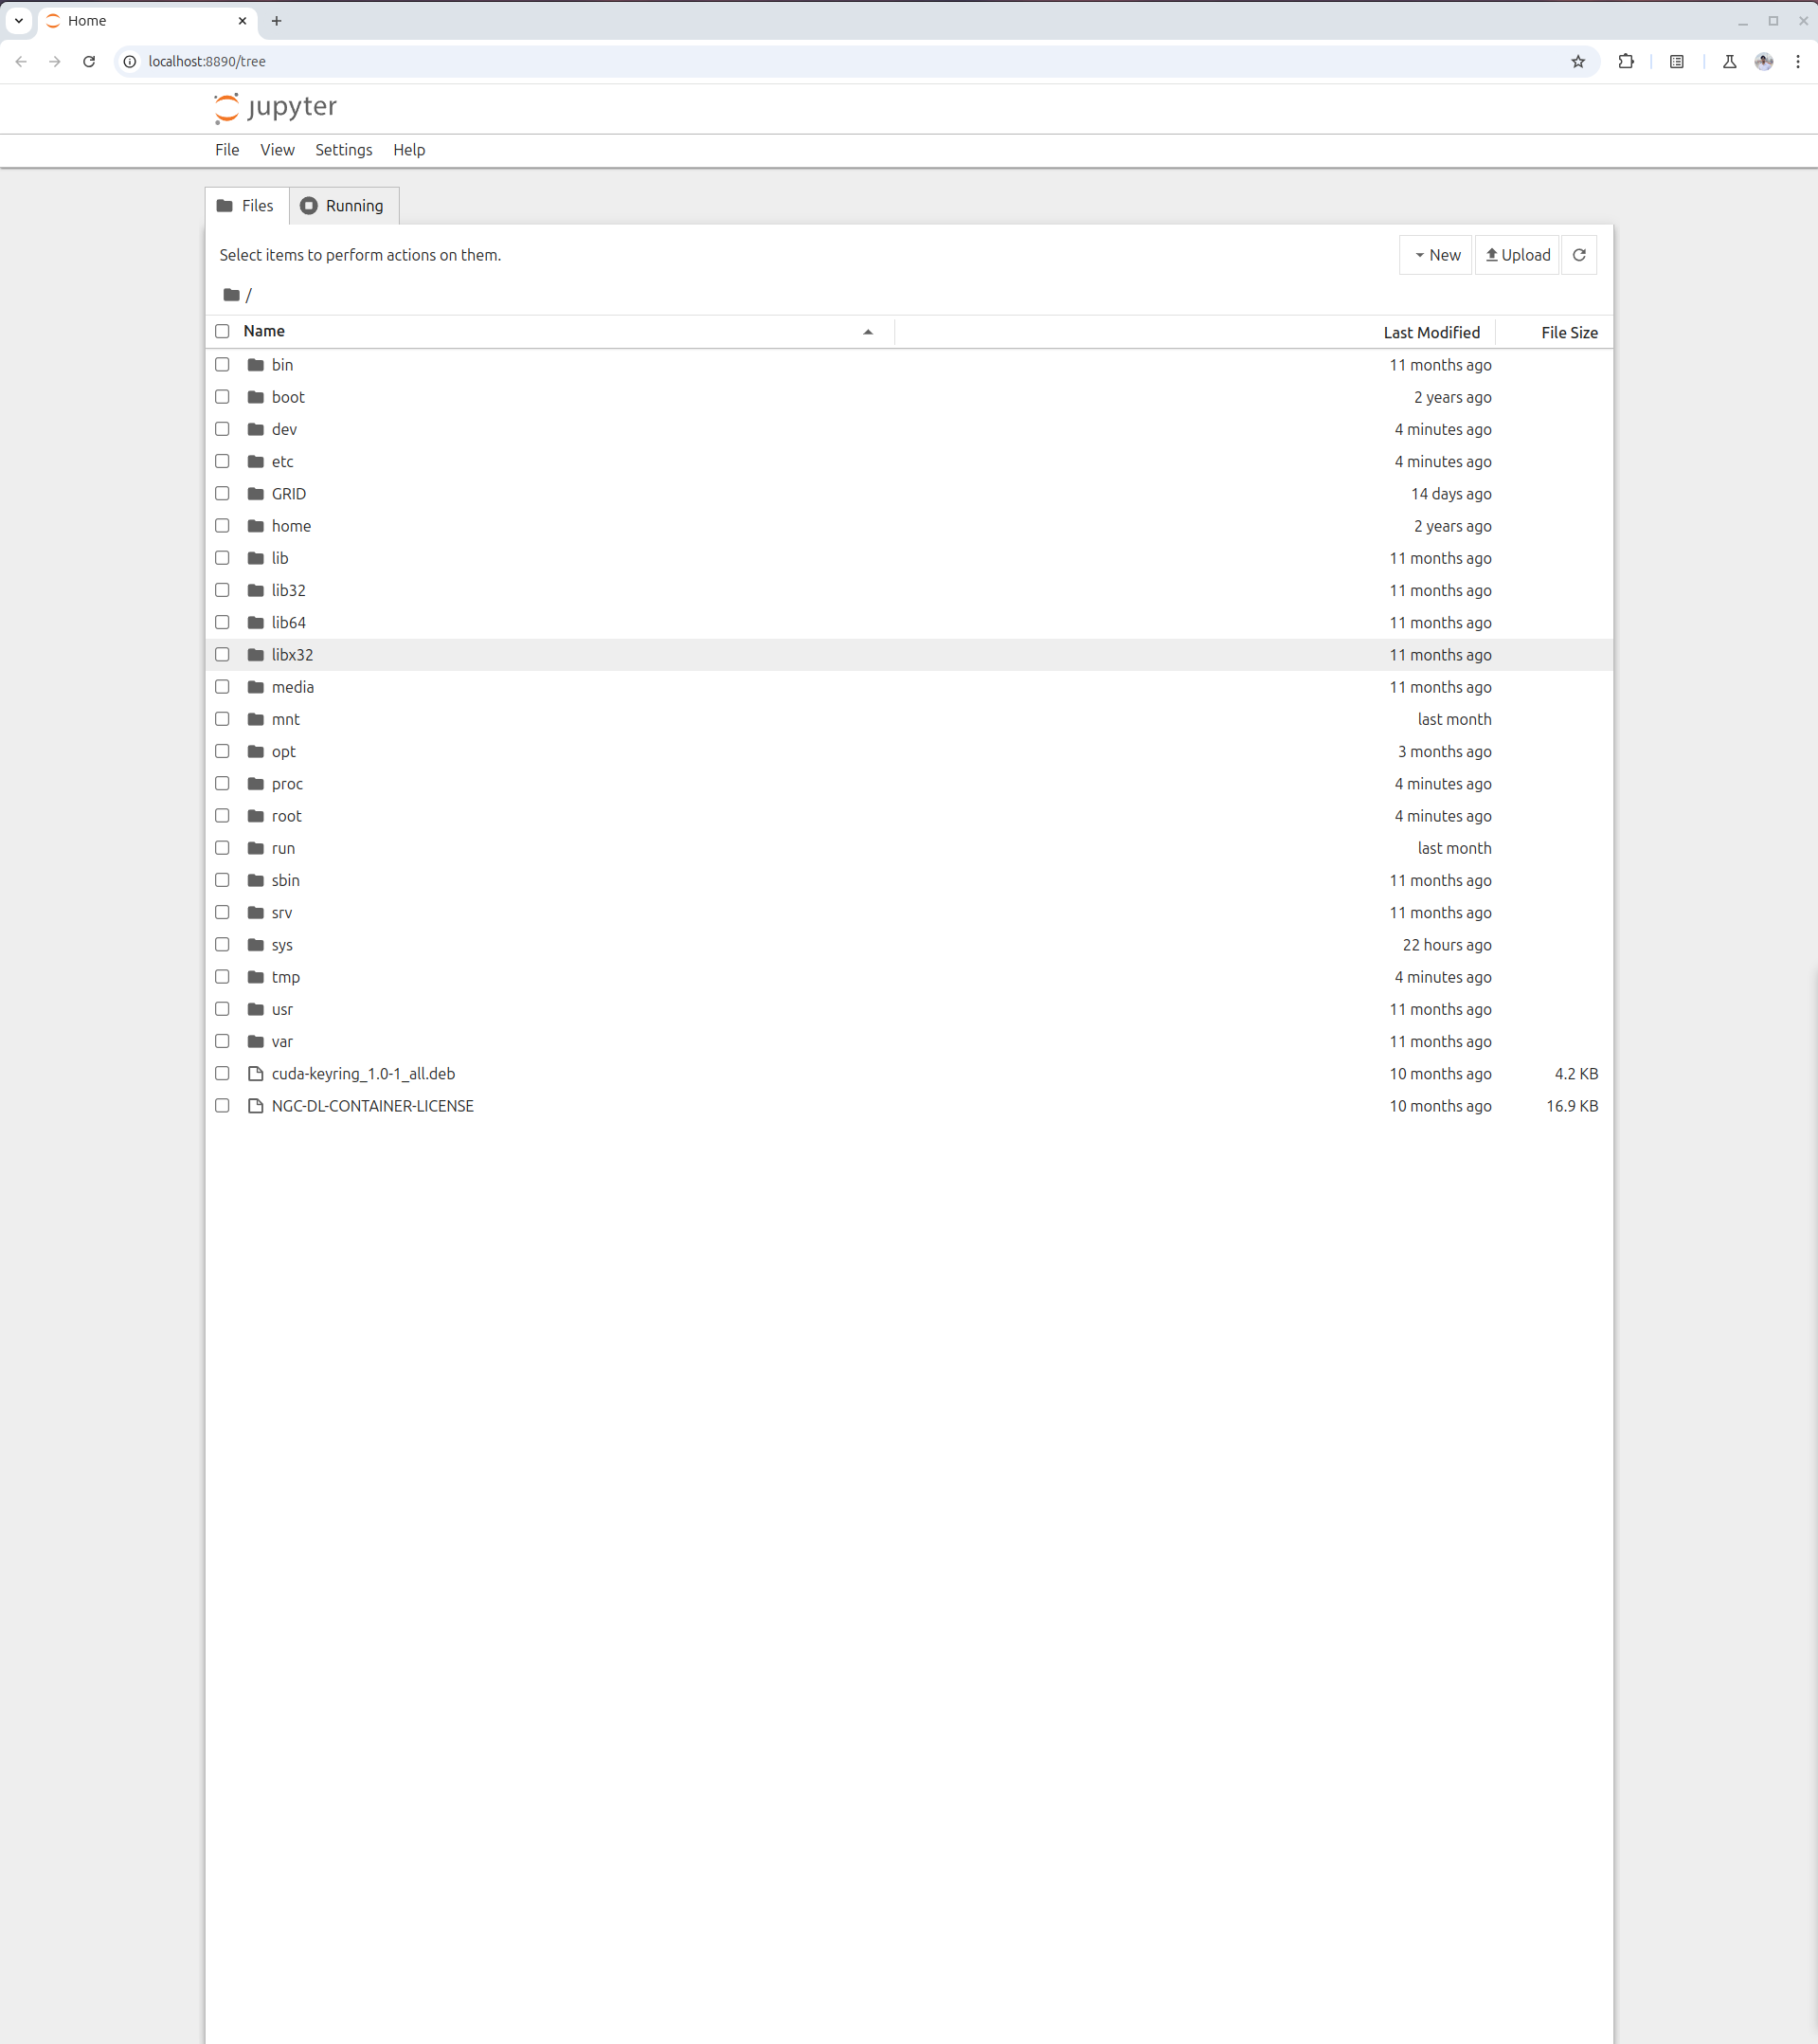
Notebook interface opened in the browser
Step 5: Open Visualization
Similarly, to visualize the data using rerun, use the following command:
open hello_grid viz
Show Expected Output
Opening viz for session hello_grid in default browser at http://localhost:9090/?url=ws://localhost:9877
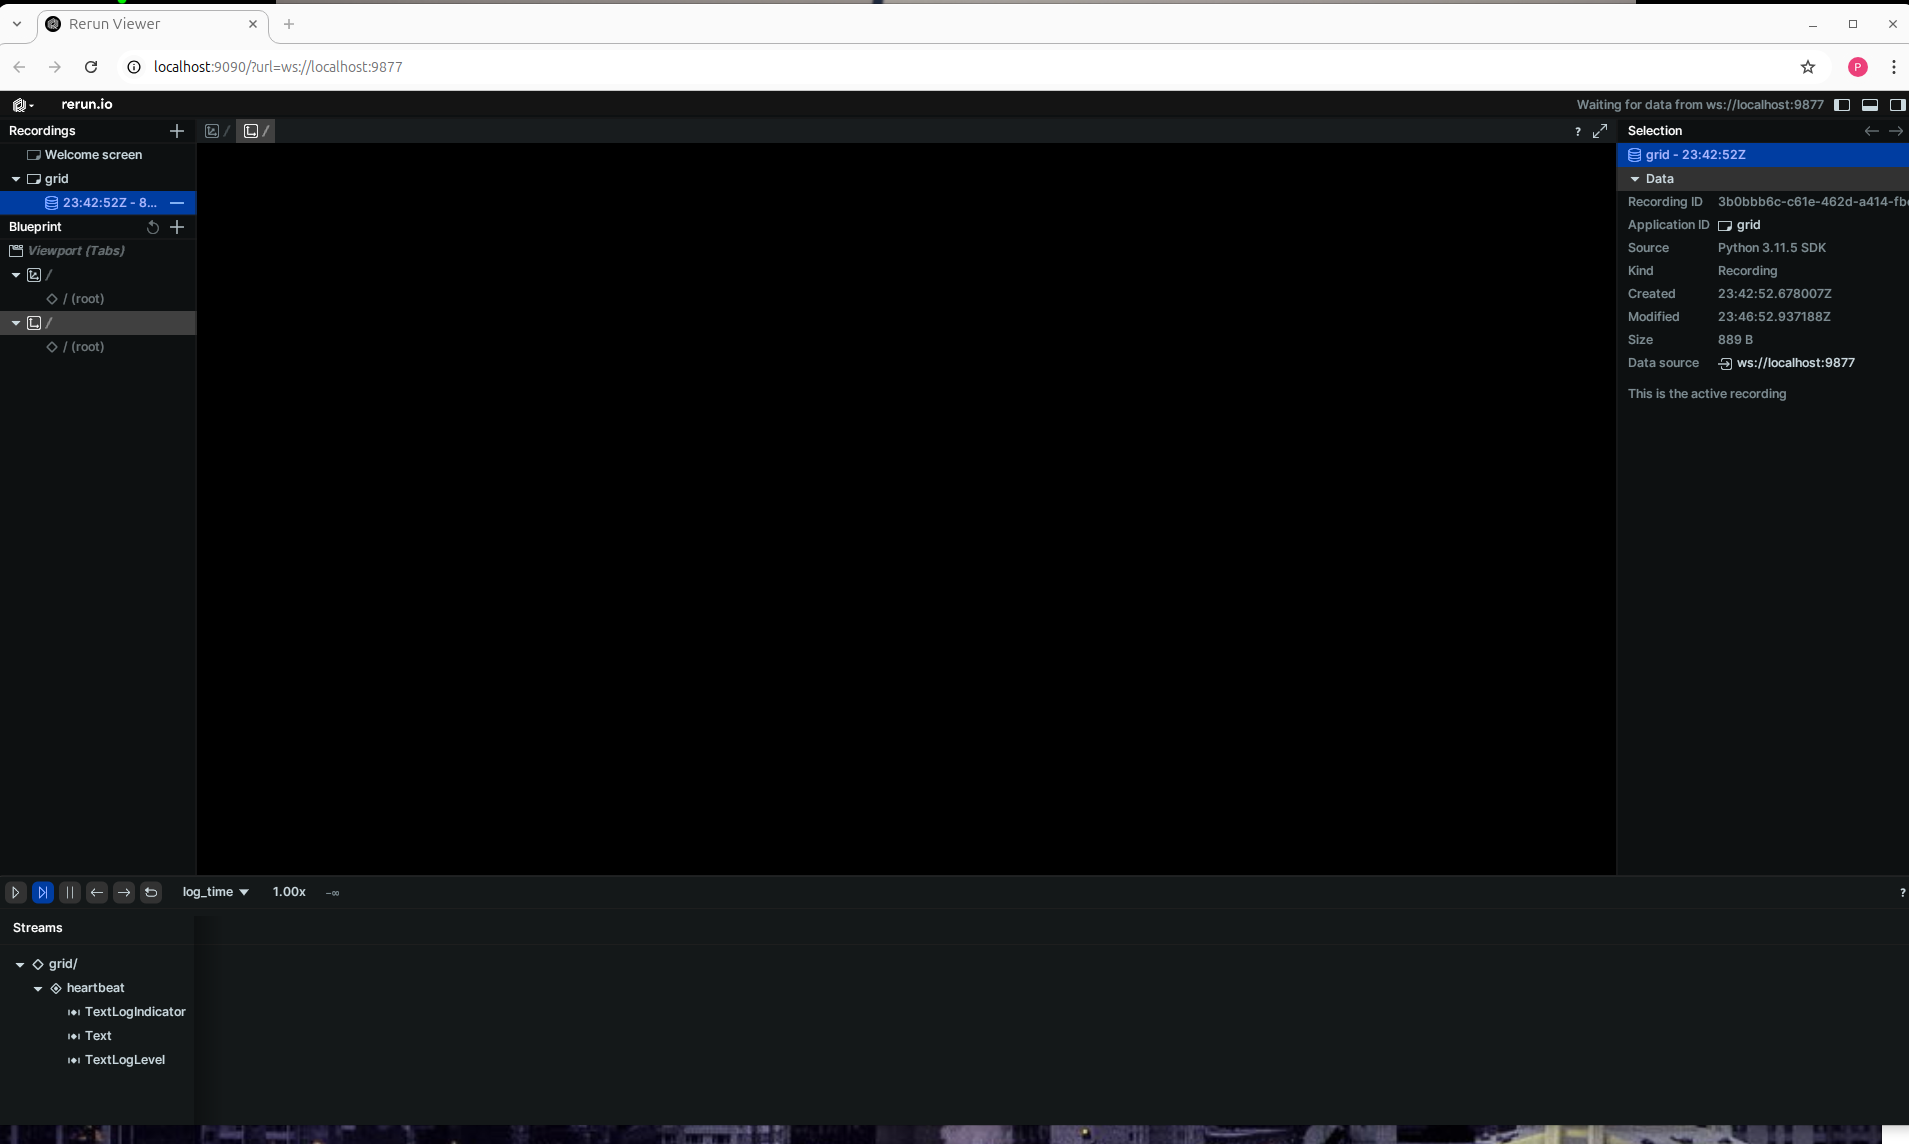
Visualization interface opened in the browser
Once we have the development environment setup, this is how it looks like:
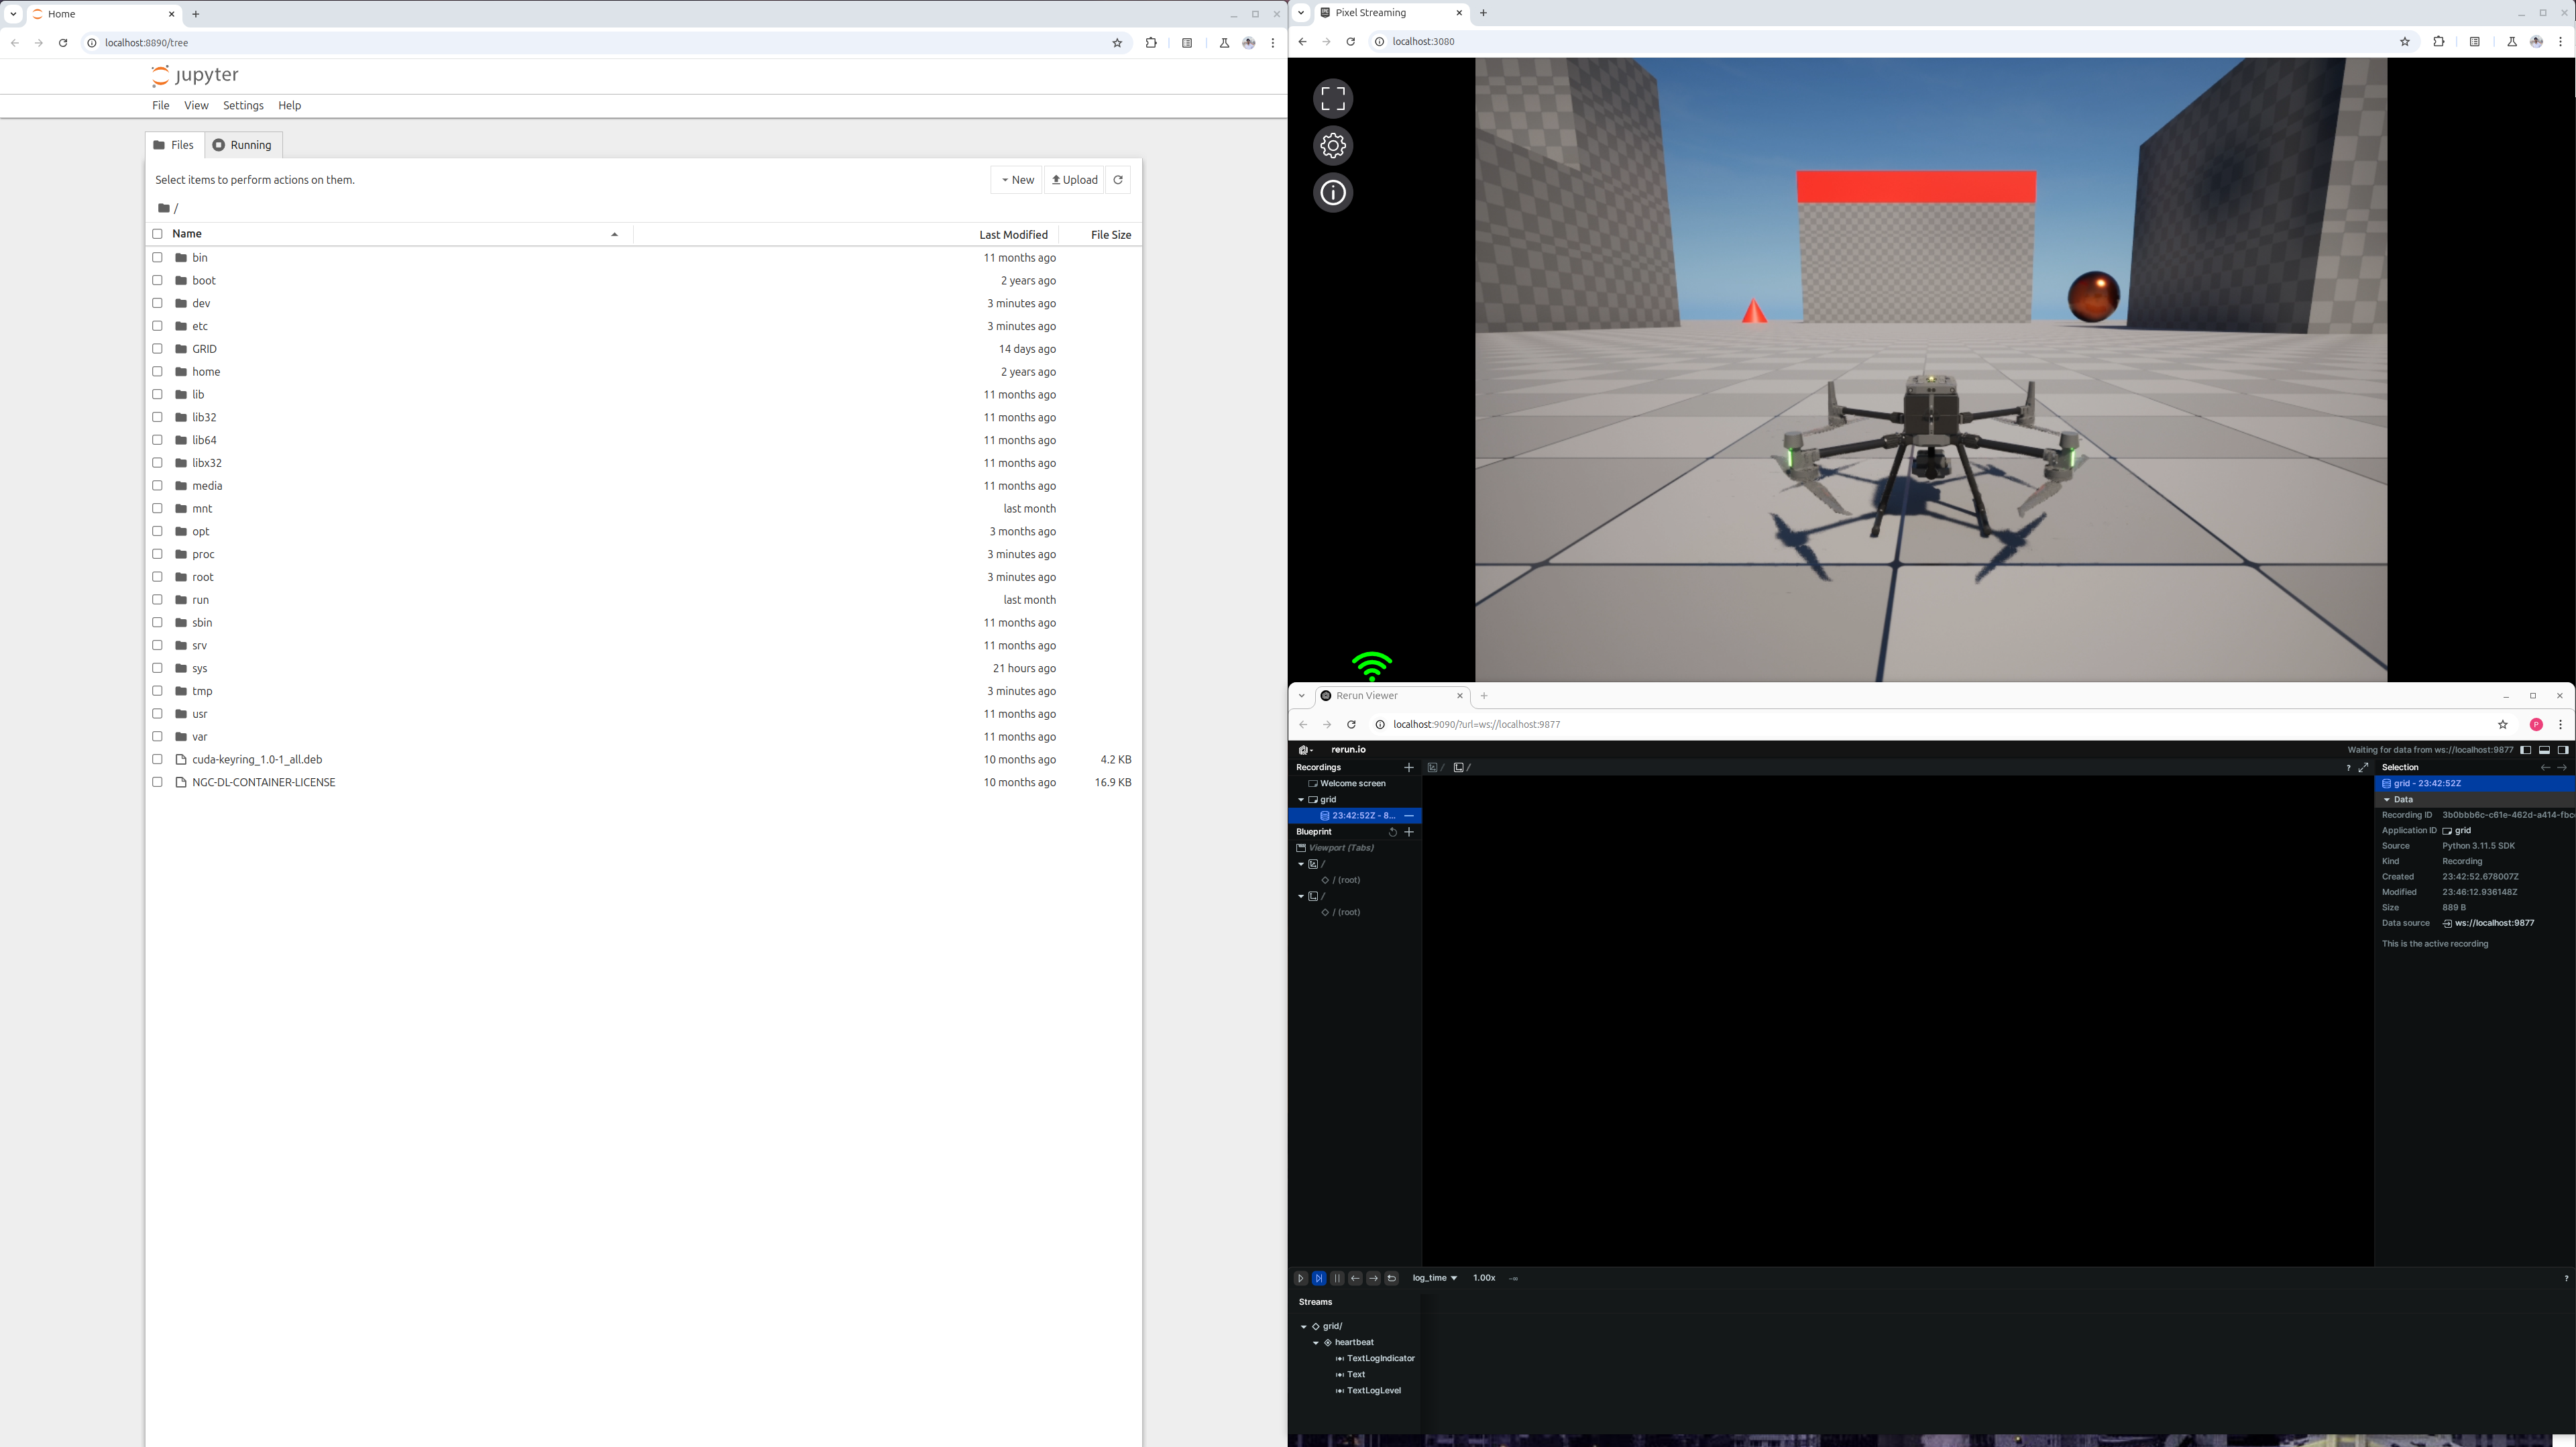
Successful development environment setup for GRID Enterprise platform
Managing Your Sessions
Step 6: List Active Sessions
To check all active sessions, use the following command:
session list
Show Expected Output
grid> session list
2024-09-10 17:10:53,338 - INFO - HTTP Request: GET http://localhost:8000/is_idle?session_id=hello_grid "HTTP/1.1 200 OK"
+--------------+-----------+----------------------------------+
| Session ID   | Node IP   | Last Active Time                 |
+==============+===========+==================================+
| hello_grid   | localhost | 2024-09-10T23:42:51.674976+00:00 |
+--------------+-----------+----------------------------------+
This will display the list of ongoing sessions and their statuses.
Data Capture and Visualization
With our development environment setup, let's go ahead and write a simple script to capture data and visualize it on rerun.
from grid.robot.airgen_drone import AirGenDrone
airgen_drone_0 = AirGenDrone()

import airgen, rerun as rr

image_data = airgen_drone_0.client.getImages("front_center", [airgen.ImageType.Scene])
rgb_image, camera_pose = image_data[0]
rr.log("image", rr.Image(rgb_image))
The expected output of the above code would be the image captured by the drone's front center camera and displayed on rerun.
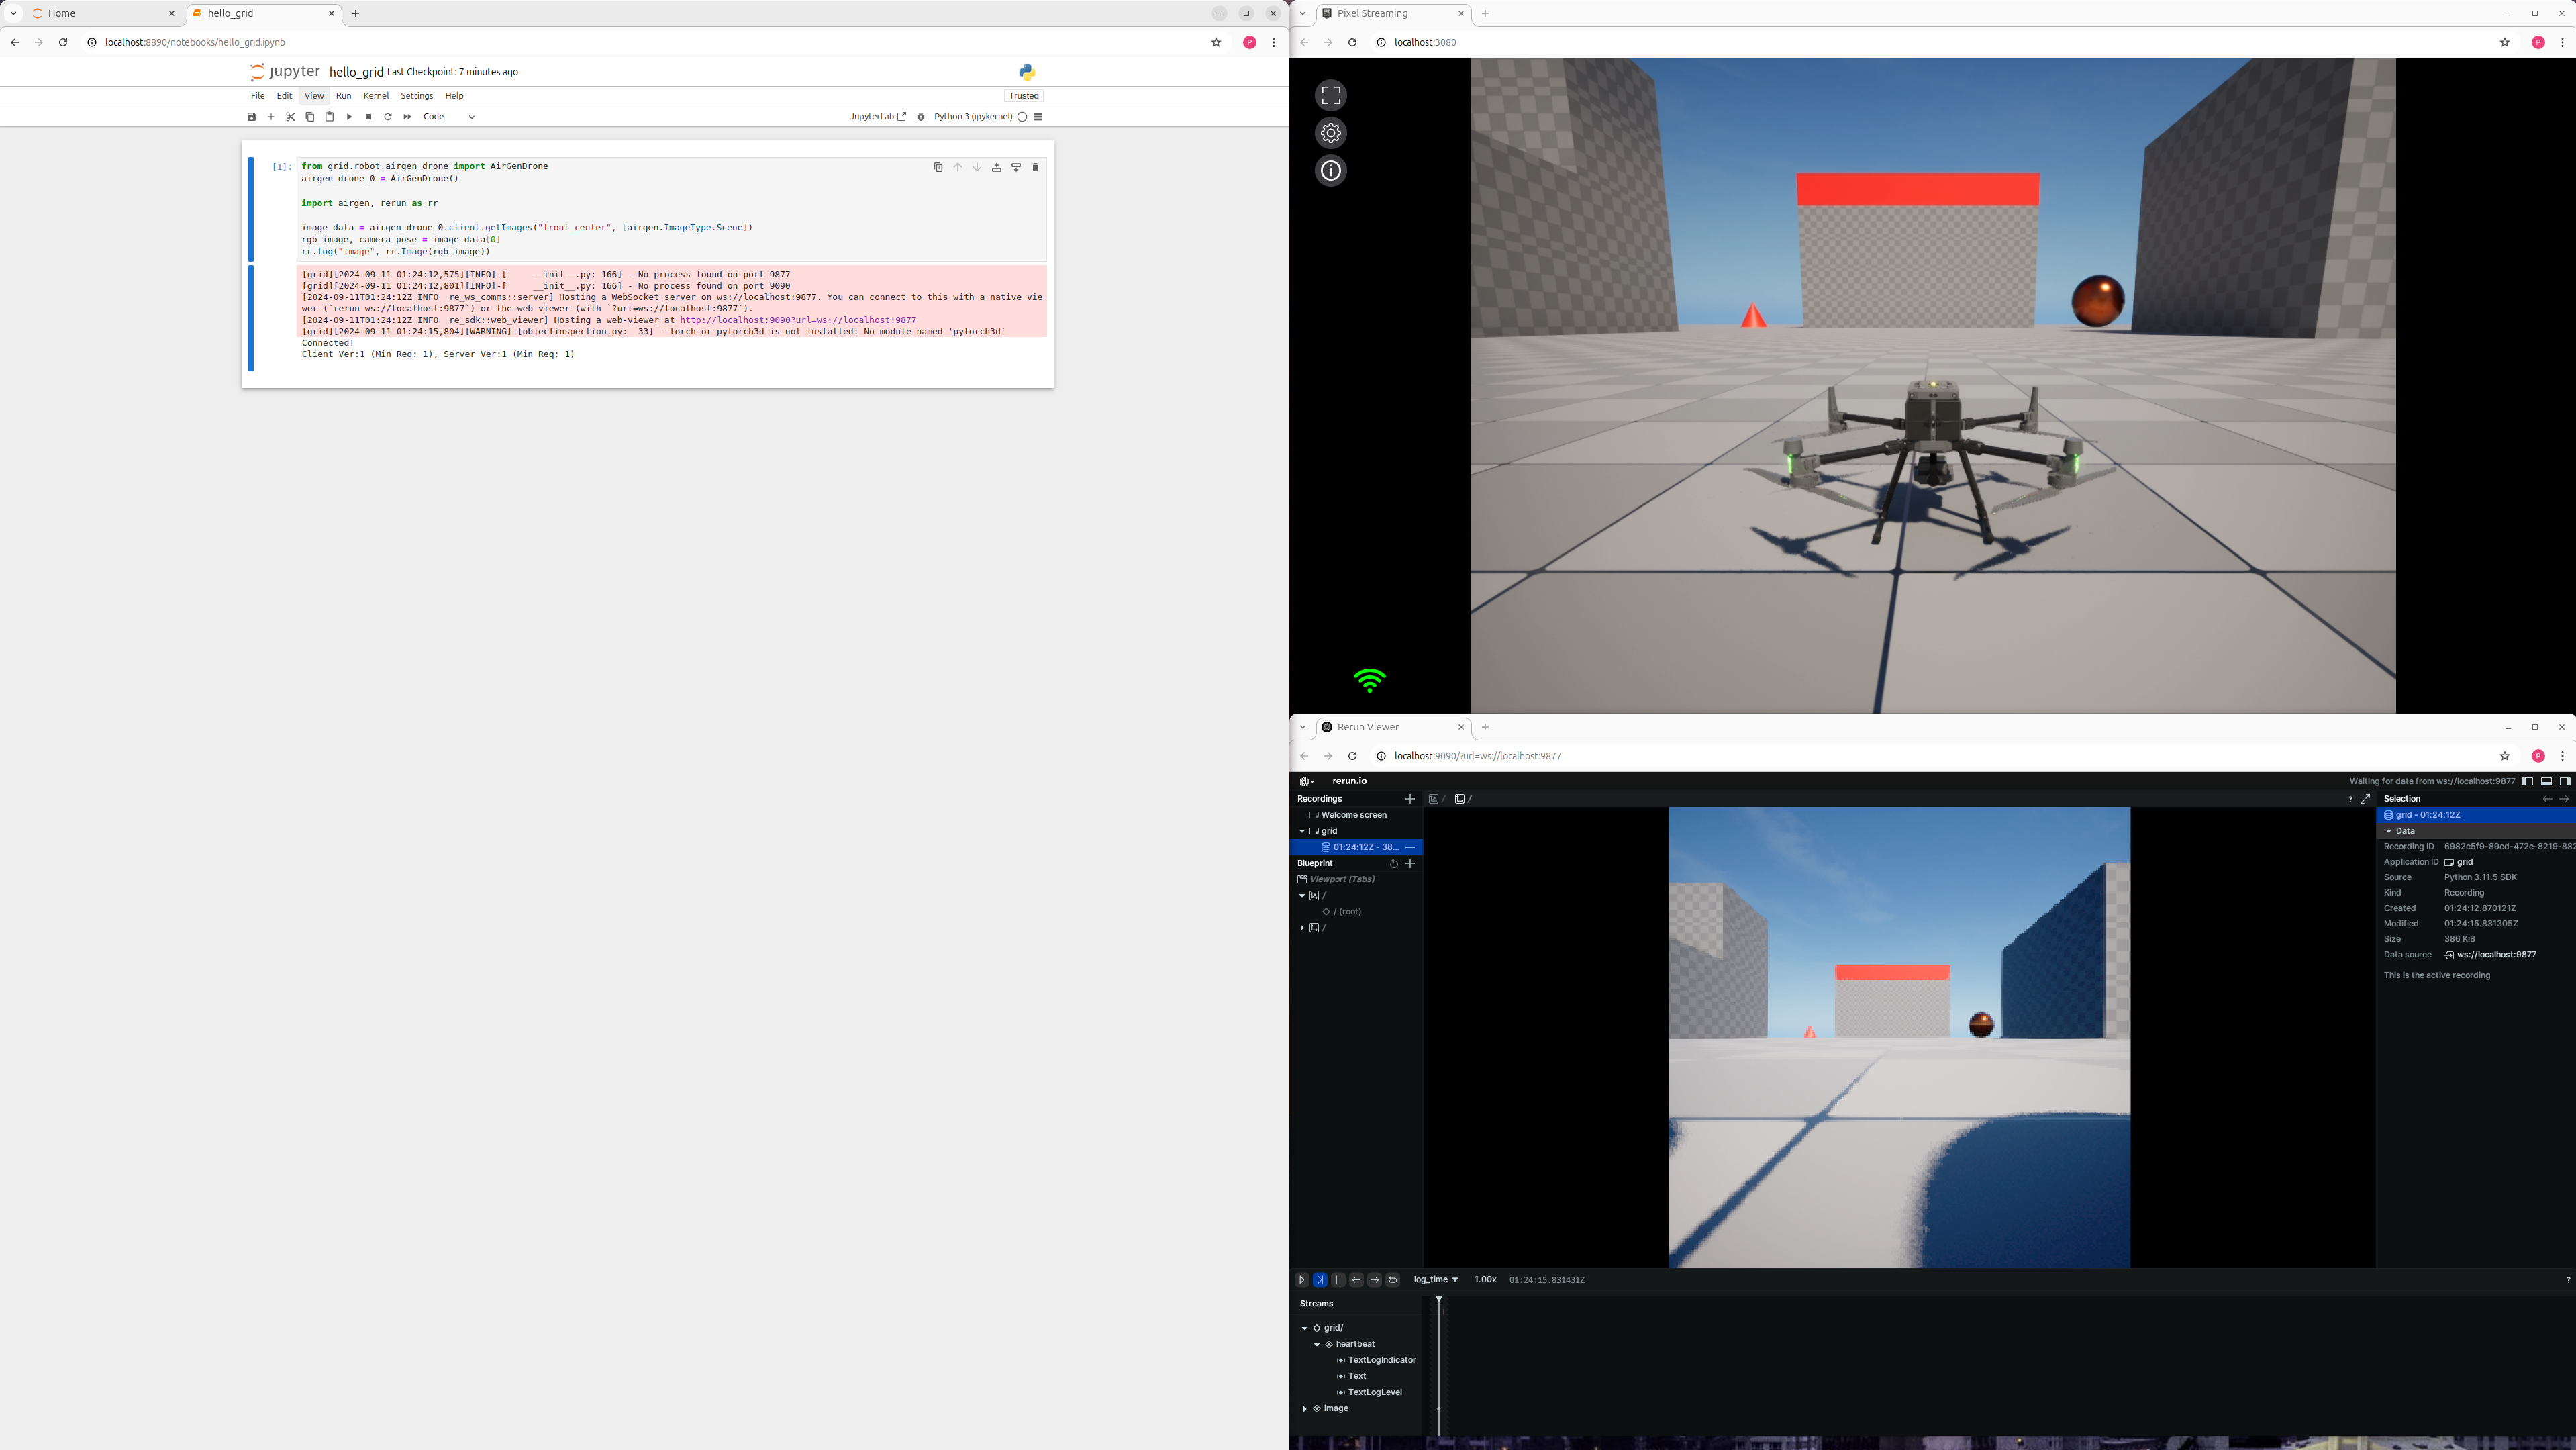
Data captured by the drone and visualized on rerun
Step 7: Stop the GRID Session
Once you’re finished with the session, stop it with:
session stop hello_grid
Show Expected Output
grid> session stop hello_grid
Stopping session hello_grid ...
2024-09-10 17:11:11,411 - INFO - HTTP Request: POST http://localhost:8000/terminate_session "HTTP/1.1 200 OK"
Session stopped successfully.
This will stop the hello_grid session without terminating the containers.
Cleanup and Shutdown
Step 8: Terminate the GRID Containers
Finally, to clean up your environment, terminate the containers by running:
terminate
Show Expected Output
grid> terminate
Stopping containers...
grid_core: ❌
grid_service: ❌
Containers stopped successfully.
grid>
This stops all running containers on your local machine.
Congratulations! You've completed the Hello GRID tutorial. You’ve successfully logged in, started a session, opened a simulation, and cleaned up your environment. This is the beginning of what you can achieve with GRID Enterprise. Explore the advanced features like running sessions on remote machines, mounting custom storage, and integrating your own AI models.